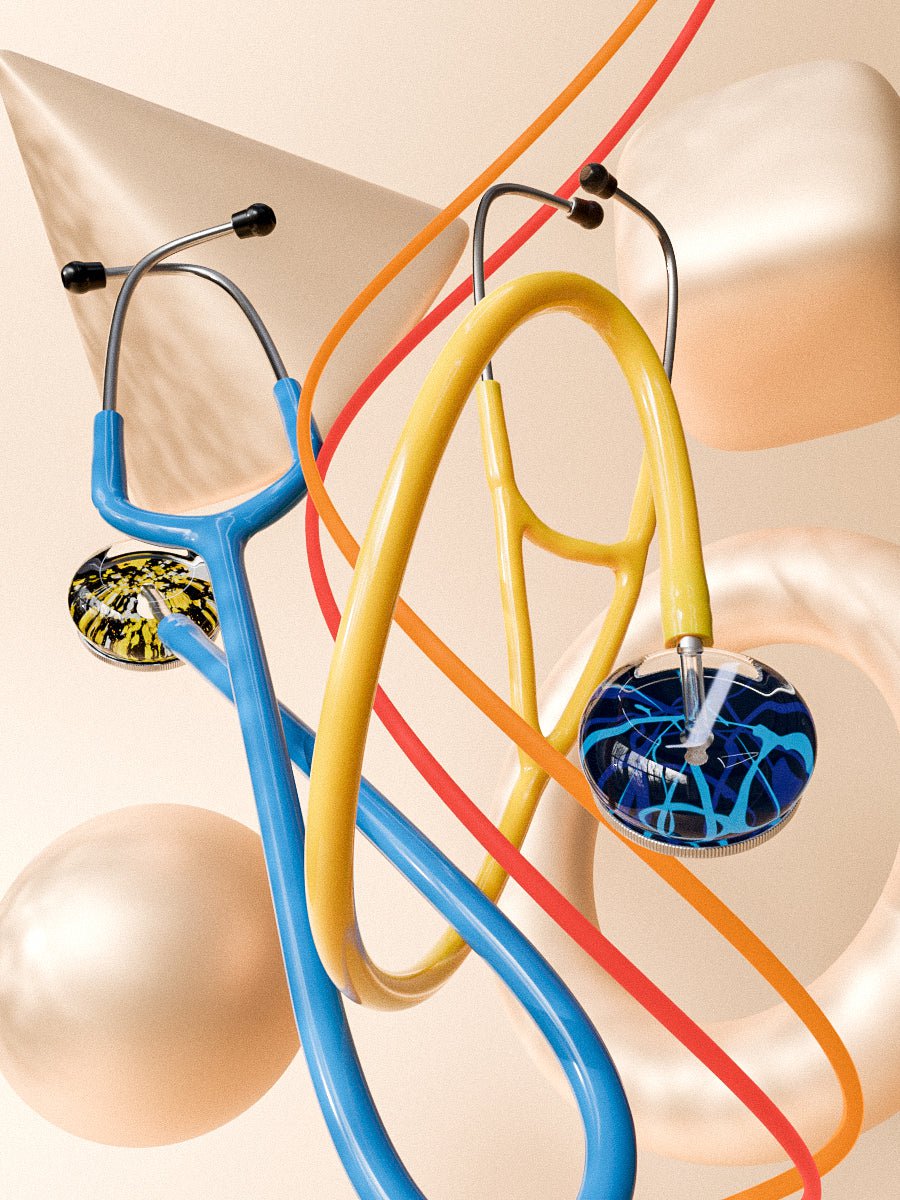
A stethoscope is one of the most valuable tools in a healthcare setting. It is generally used to listen to sounds from internal body organs such as the heart, lungs, or intestines. It is has been and is still a common tool in disease diagnosis and is truly an asset that deserves to be well looked at. No matter the size or design of the stethoscope you have, you need to keep it in top condition and working properly.
In this post, we are going to discuss the care and maintenance requirements of a stethoscope, putting more focus on a frequently enquired care practice - how to remove kinks from stethoscope tubing.
Before we get to the answer to this question, let's first deal with some basic stethoscope details.
What is stethoscope tubing and what is its role?
The tubing, also called the acoustic tube, is the longest component of a stethoscope. It forms one of the three main components of a stethoscope, the other two are the headpiece containing the ears tubes/tips and the chest piece that connects the tubing to the diaphragm. In many stethoscopes, the tubing is the section that is ocean blue in color.
It is around 50cm in length and is made of Polyvinyl Chloride (PVC). This material is flexible and soft and is prone to bending and contortion when stored in a confined space. Its inner part contains a tension spring that is used to hold the tubes together. The upper part of the tubing is u-shaped and is where the ear tubes are inserted.
The main role: The tubing’s main role is to relay or direct the sound picked up by the chest piece to the ear tubes so that the wearer hears them.
A stethoscope can come with a single lumen or dual-lumen tubing. The dual lumen tubing design comes with a split interior to create two sound channels in one outer tube. Double lumen tubings are more sensitive and clear than their single lumen counterparts. This is because they create a distinct sound path for each ear.
Modern stethoscopes have tubings that can withstand some elements, including skin oils and alcohol, but still require some care and maintenance level. This leads us to our next topic:
Common stethoscope tubing defects/ damage risk factors
Tearing in the PVC
The PVC used to make a stethoscope’s tubing is not the strongest PVC as it is expected to bend when setting the ear tubes at different angles. If too much continued stress is subjected to the tubing, then it may tear up and become impractical to use.
Hardening and possibly cracking
The material making the tubing may react with certain elements such as skin oil and become hardened. If this happens, the tubing may crack, reducing the sensitivity of the equipment. This can be avoided by ensuring that there is no bodily contact when using or storing the stethoscope.
You need to specifically avoid leaving the stethoscope hanging from your neck region when you are not using it. It would also help if you purchased a stethoscope with tubing that is resistant to the elements that cause hardening.
Kinking
A ‘kink’ is a sharp twist or curve of something that is usually straight. The stethoscope is typically supposed to remain straight, whether in use or not. However, when you store it, say by stuffing it in a pocket or bag for a long time, then kinking may occur to the tubing. It is annoying to have a stethoscope with kinked tubing and if this is your scenario, you might be left wondering if it will get back to its original shape.
Since kinking is the most common defect of the stethoscope’s tubing, it deserves special attention and that is why we have dedicated the theme of this guide to it. This said, we can now proceed to the kinks correction guide you’ve been waiting for.
How to remove kinks from your stethoscope tubing?
If you have been wondering whether you can get your stethoscope’s tubing in shape again, here is a simple guide with a perfect solution for this problem.
Step 1: Gather the materials that you will use in the kink removal process. You need to have a basin, water, a clean, dry towel, and a water heating element such as an electric kettle.
Step 2: Boil the water using your heating element and transfer it to your basin. You will use this water as the medium for the heat treatment. It is crucial to mention while in this step that you should never subject your stethoscope to any other form of heat treatment other than a hot water bath.
Step 3: Let the water cool until it reaches a temperature that your hands can withstand. If the water is too hot, it may burn out the tubing’s material causing further damage.
Step 4: Submerge the stethoscope tubing and please ensure that any other component (primarily the diaphragm and the binaural) does not come into contact with the hot water. Since sometimes the kinks are hardened and demand hotter water, it would help if you had some water boiling in the kettle. You can always use boiling water to raise the temperature of the basin water until the right temperature (one that removes the kinks) is achieved.
Typically the kinks will be corrected by the heat treatment in under 1 minute, after which you are supposed to remove the tubing from the water.
Step 5: Wipe the tubing with the towel until it is completely dried. As you do this, try to stretch your scope’s tubing a little to ensure that it satisfactorily regains its usual shape. When everything is straightened and back to pristine conditions, you can test it to check if it is still working properly. So long as no water gets to the other components of the stethoscope, the equipment should work just fine.
A quick summary of what you should avoid during the heat treatment process:
- Submerging the diaphragm and the binaural as water may damage their internal components.
- Very hot water (boiling water) as it may damage heat-sensitive elements of the stethoscope in the cleaning process.
- Heating your scope's tubing with means other than a hot water bath.
If you follow these steps, your stethoscope’s tubing will regain its usual shape and size in a matter of minutes. To further increase the tubing's longevity and the stethoscope as a whole, you need to follow some cleaning guidelines. Let’s briefly discuss them.
General stethoscope cleaning tips
- Always use isopropyl alcohol solutions (preferably one that is 70% concentrated) to disinfect your entire stethoscope.
- Avoid immersing your stethoscope in a liquid as this may damage the internal parts. Also, avoid any other sterilization process that is not what we have discussed above.
- When cleaning your stethoscope, avoid solvents of extreme temperatures and oils that may damage its components.
Focus your cleaning practices on the following parts:
The ear tips - The ear tips may easily collect dirt, debris, and ear wax that will compromise their sound relay. You can remove the ear tips from the ear tubes and give them a thorough cleaning. When reconnecting them, ensure that they are firmly secured onto the ear tubes' ribbed ends for safety purposes.
Diaphragm - Most modern stethoscopes come with a tunable diaphragm meaning that you can disconnect it from the chest piece and wipe its surfaces with either alcohol or soapy water. Before you reconnect it, dry it completely with a clean, dry cloth.
Conclusion
A stethoscope is, without doubt, an iconic medical tool with an enduring and crucial role in healthcare. If you look after your stethoscope the right way, it will serve you and your patients for an extended period.
Hopefully, after reading this guide, you now understand the best way to remove kinks from stethoscope tubing and, in general, keep it in the required working order. If you follow these care and maintenance tips, you could potentially use your stethoscope throughout your entire medical career!


